As I wrote in my last post, I spent a day out at our cottage in the Turku archipelago shooting some birds. I already detailed what happened with the eagle, so I'll leave that out; instead, I'll tell a little bit about how I shot the birds. We'll cover camera settings and shooting technique, hopefully it will be of help to some of you.
Synchronized derping.
The day before I went out and did a test run of my camera settings, so that I would have them ready to go. I had attended a wildlife photographers lecture, where we talked at length about shutter speeds and ISO; long story short, I've been too afraid with my ISO setting, resulting in shutter speeds that were too low for birds. The pro at the event said that with my particular model (he had the same camera as a backup), he had no issues going to ISO 1600 in order to get a shutter speed of 1/1000th. And that really seems a magic number. I've shot birds in flight for a few years now, but I always struggled getting fully sharp images in low light. In sunlight I was usually fine, because there was enough light to get the shutter speed up. But when it's cloudy (like it was these days), you really need to pay attention to the shutter speed and bump up the ISO accordingly.
ISO 500, no issues with noise at all.
ISO 1600. Visible noise if you look close enough, but for this kind of use, it's completely fine.
The reason I typically never go above ISO 400 is pixel peeping. Especially with landscapes; I hate the noise I get in the details, especially in shadow, even at ISO 400. With earlier bird shots, I had experimented with higher ISOs, but I always found my images were too noisy. Now I've learned there were two reasons for that. First one was that I've learned how to use the noise and sharpening sliders in Lightroom to get much of the noise out, while retaining details. I've also learned where noise is OK and where it's not, and how much is actually visible in print. Secondly, I always cropped my bird shots. I never simply got close enough to fill even a fifth of the frame; of the 6000 pixels I have horizontally, the bird was at most 500 of them. That meant that I never got any proper detail in the first place.
So, two lessons learned, then. First of all, get closer. A lot closer. And secondly, when you are close, high ISOs are fine if that's what it takes to get the shot. So, out I went to the sea. One of the very first birds I caught was the eagle in the previous post. I had set the camera (in manual) to f5.6, 1/1000th, and auto ISO (100-1600). The exposure compensation was at +1/3 with center-weighted metering. Why?
- f5.6: My lens is an f4 max, and f5.6 is quite a bit sharper. I had enough light for the other settings, so I optimised for sharpness. Later in the evening I dropped this to f4 to get maximum light.
- 1/1000th: this is pretty much the minimum you need for birds in flight, especially smaller ones. The bigger the bird, the slower your shutter can be, but I've found that I get a lot more motion blur with my 300mm when I drop under 1/1000th. If I had VR, I'd try with something in the 1/500th range to see if that works.
- Auto ISO; since aperture and shutter are set, I need something else to control exposure. Auto ISO will do that for me, as long as I restrict its range. If the conditions don't change, you can get away with leaving your ISO set too; I prefer not worrying about changing it manually all the time.
- Exposure comp; a third of a stop gives a little bit of extra light on my subject. The sky is typically much more bright than your subject; if left at default, your camera might underexpose the actual subject. Center-weighted metering helps here too, as it only measures the light around the subject (your chosen focus point, that you should be keeping on the bird).
Very typical Finnish behavior, queuing.
The birds were only just coming back, so they still have some adjustment to do.
What about getting closer, then? Well, in the immortal words of Tony Northtrup; 'Birds don't like you'. They really don't. Most wild birds are so skittish that they change direction immediately when they see you. The trick is to have that happen at the latest possible moment. Wear camo. Hide in the bushes. Don't make any sudden movements. And be patient. It almost never pays off to rush after a bird, it will notice you and fly or swim away. I can't count the number of butt shots I have of birds, where they look back over their shoulders to get far away from me.
Nope, not staying.
A creep in the bushes? Run away!
Aaand nope.
Moments before they see me.
The best tactic I've found is to pick a spot where you are close-ish to the birds and hidden by something like a bush. When you get to it, the birds will leave. Settle down, and don't move. The birds will come back toward that spot, slowly. Be prepared to wait for at least 15 minutes, sometimes an hour. Some birds get spooked and never come back though, so your mileage will vary :) I was wearing an all-green hiking setup when I took these shots, and I think it helped a little bit. For next year (or autumn, we'll see), I'll definitely buy a camo net or a ghillie suit.
When the birds have decided you aren't a threat, they'll come closer, and if your careful, you can get a series of shots before they get spooked again. I'm not saying that you'll be able to fill the frame with the birds; you need some serious skill (and glass) for that. Typically, you have to crop to get a nice composition. But the more pixels you have on your subject, the better. I have a loose rule that if I have to crop more than half of the pixels in either direction, the subject was too small to begin with, and I throw away the image. Of course, there are exceptions to that rule, but for most of these birds I got enough pictures that I could delete any pic that was taken from too far away immediately.
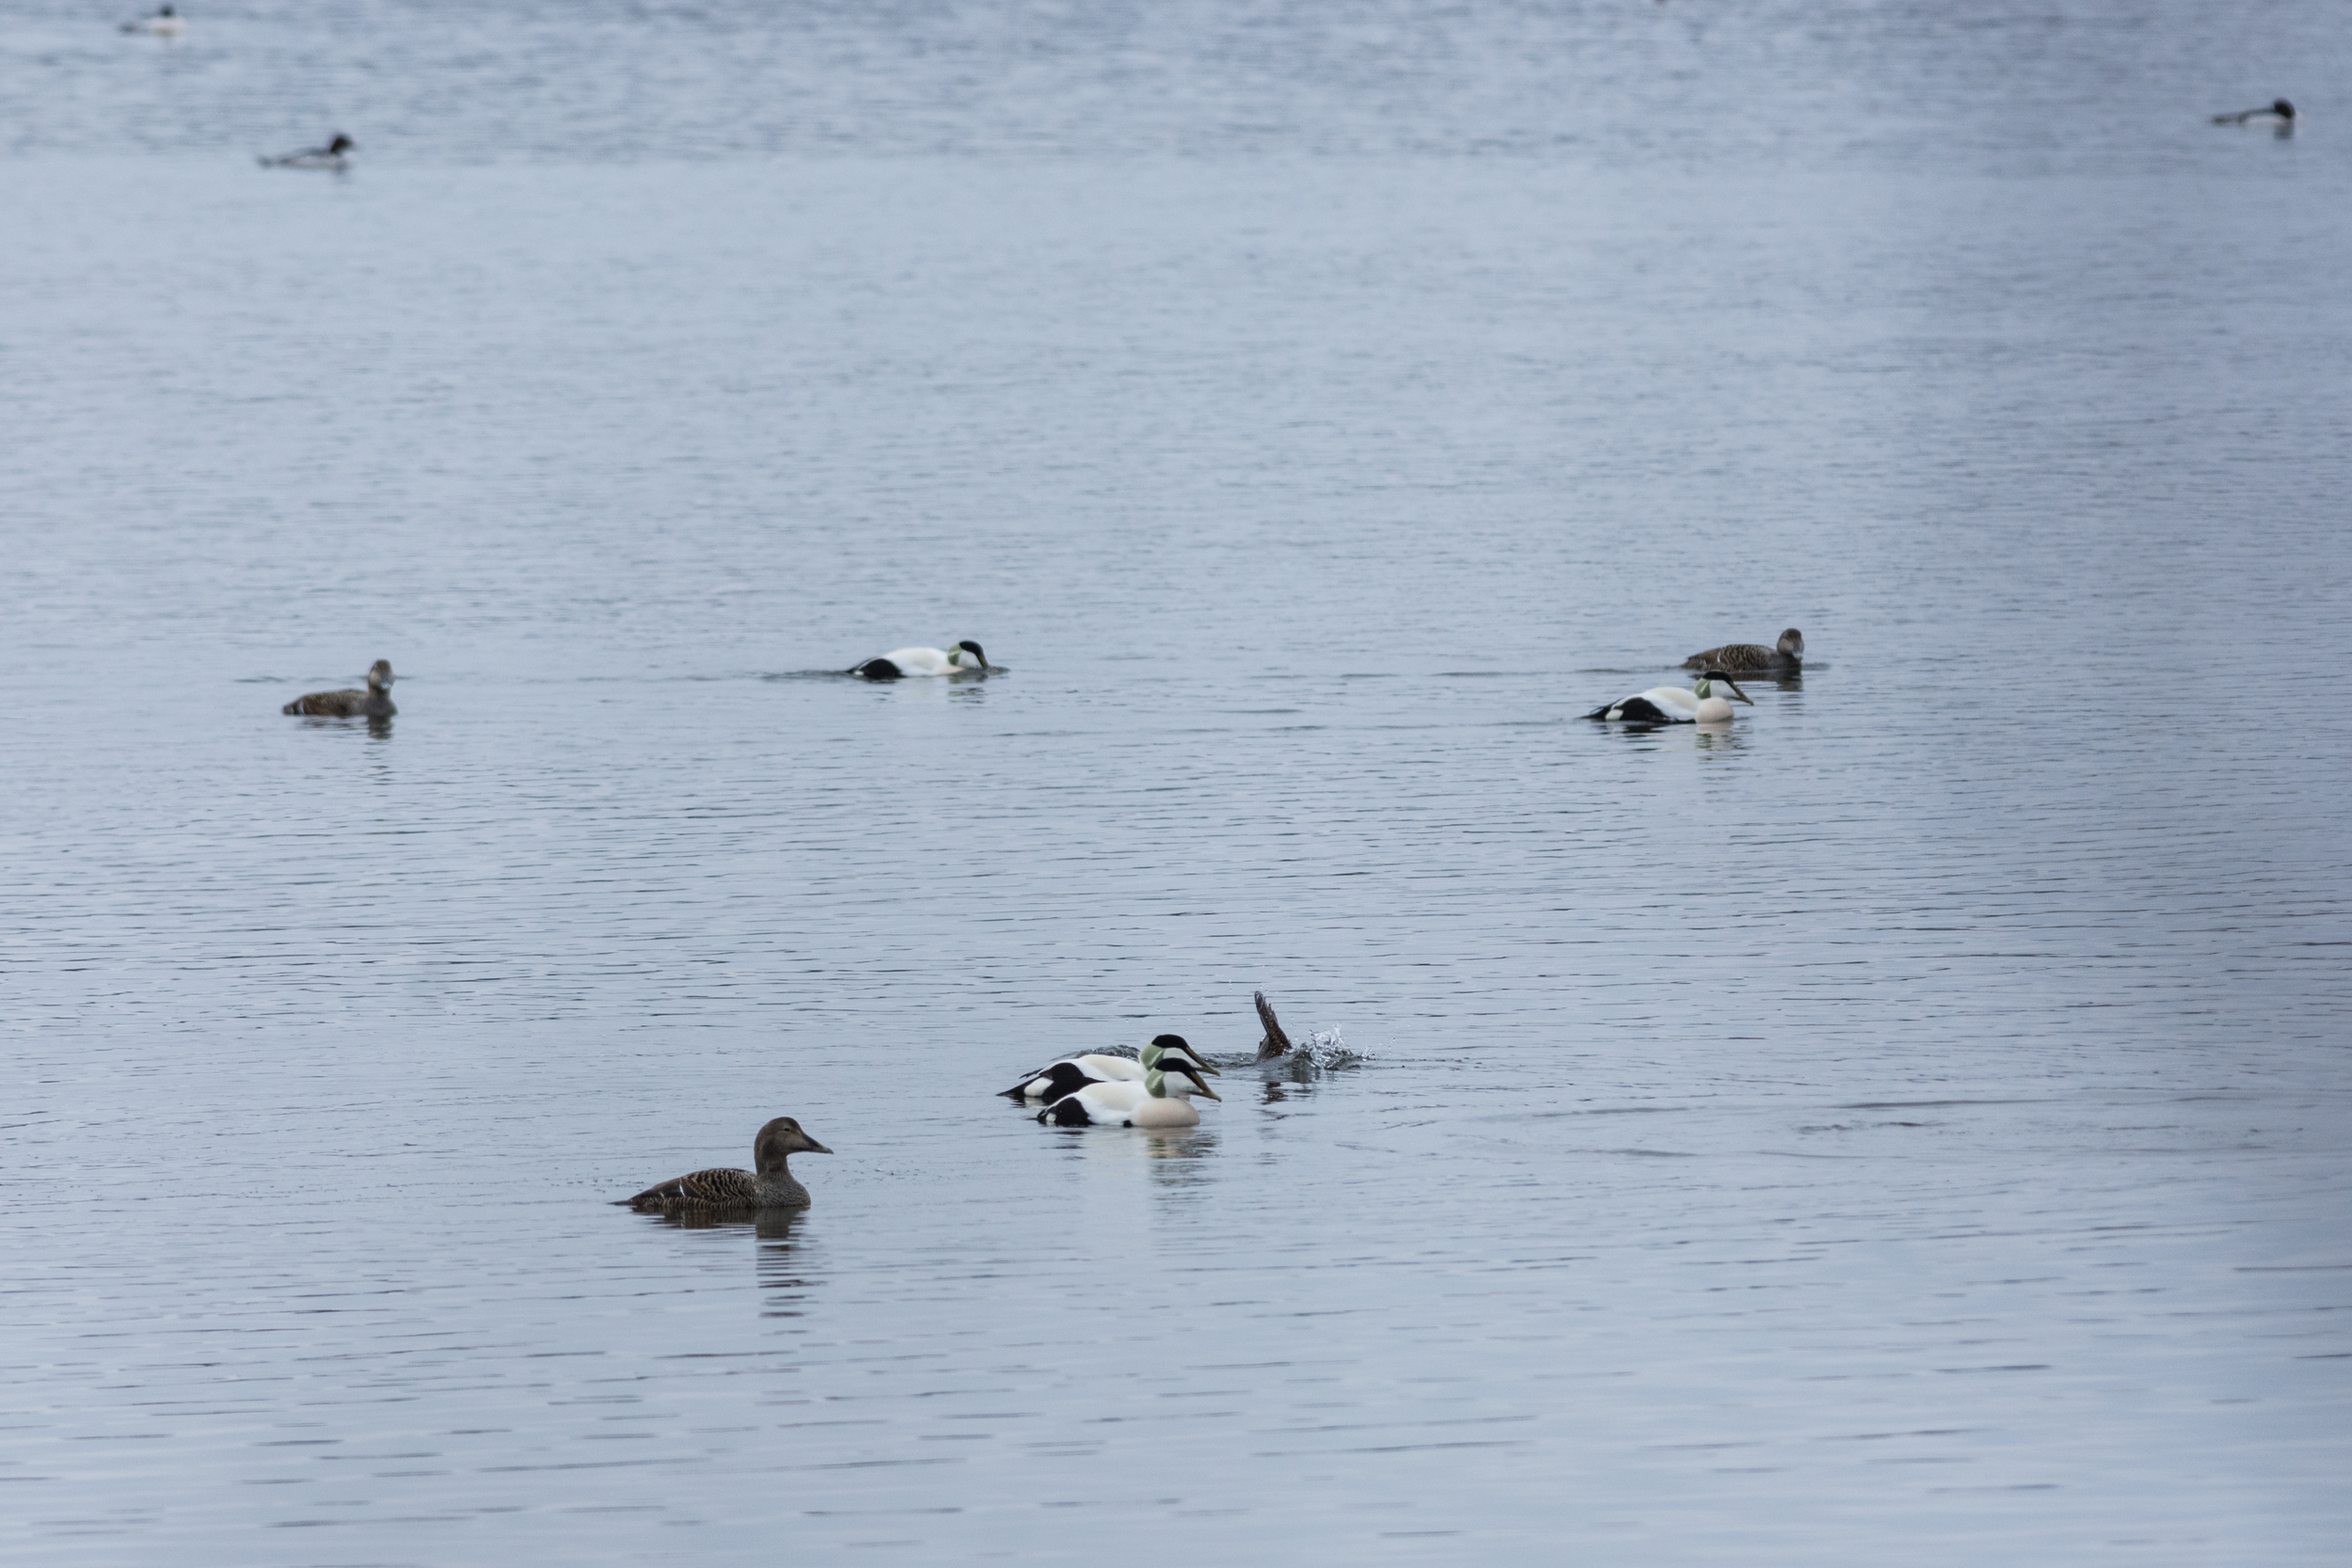
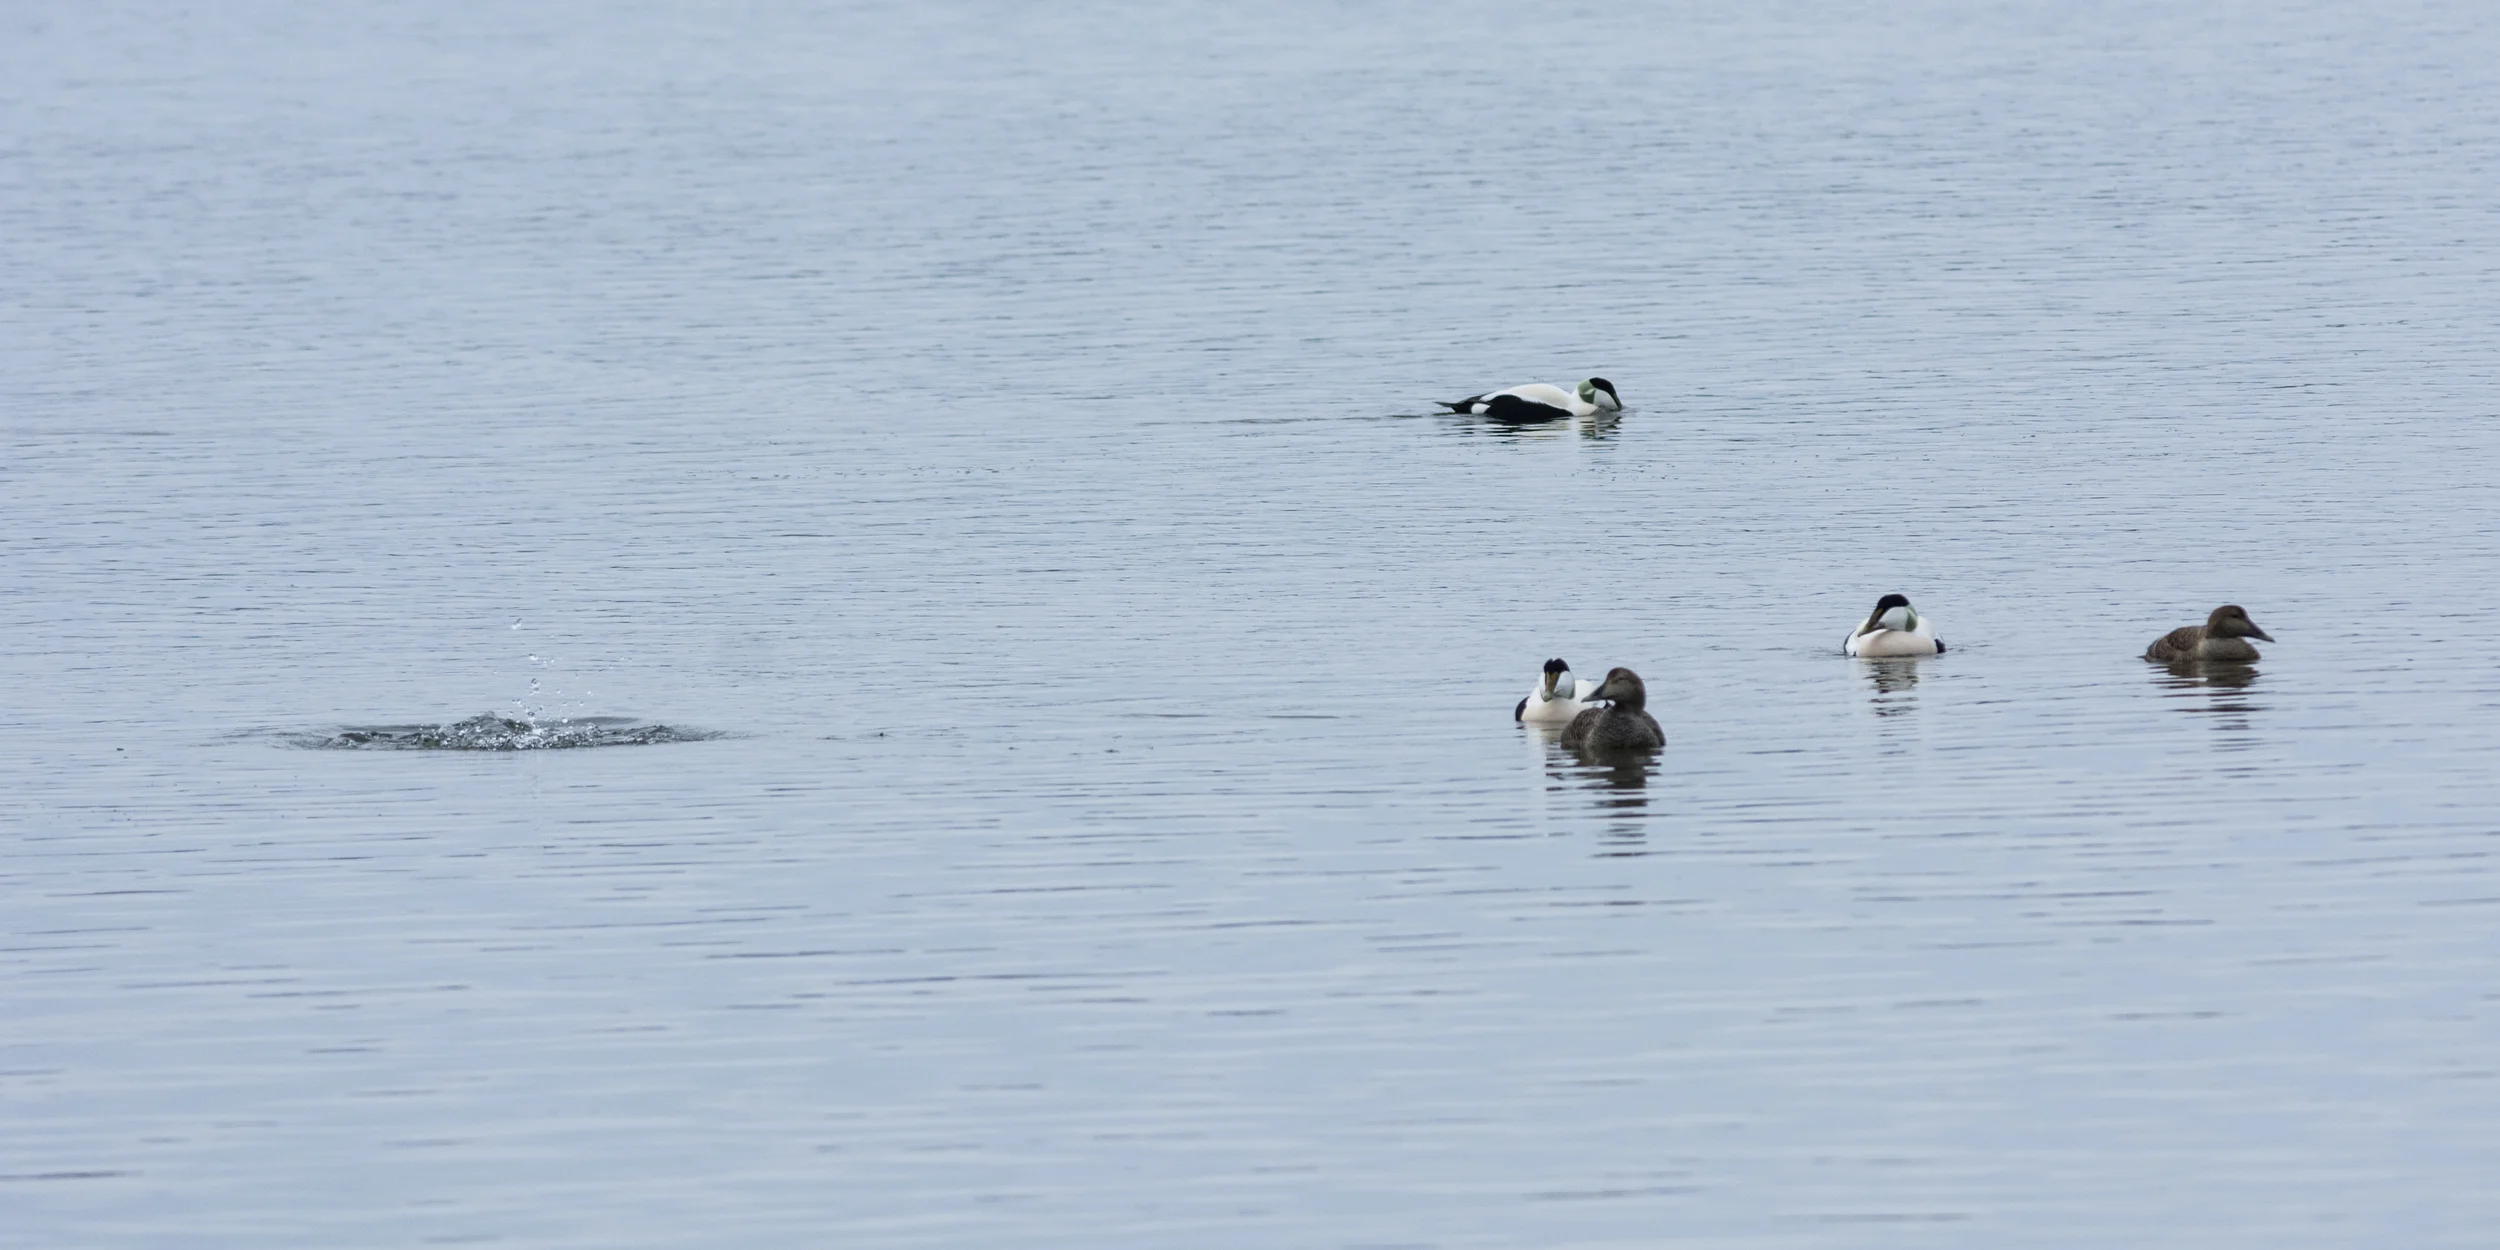
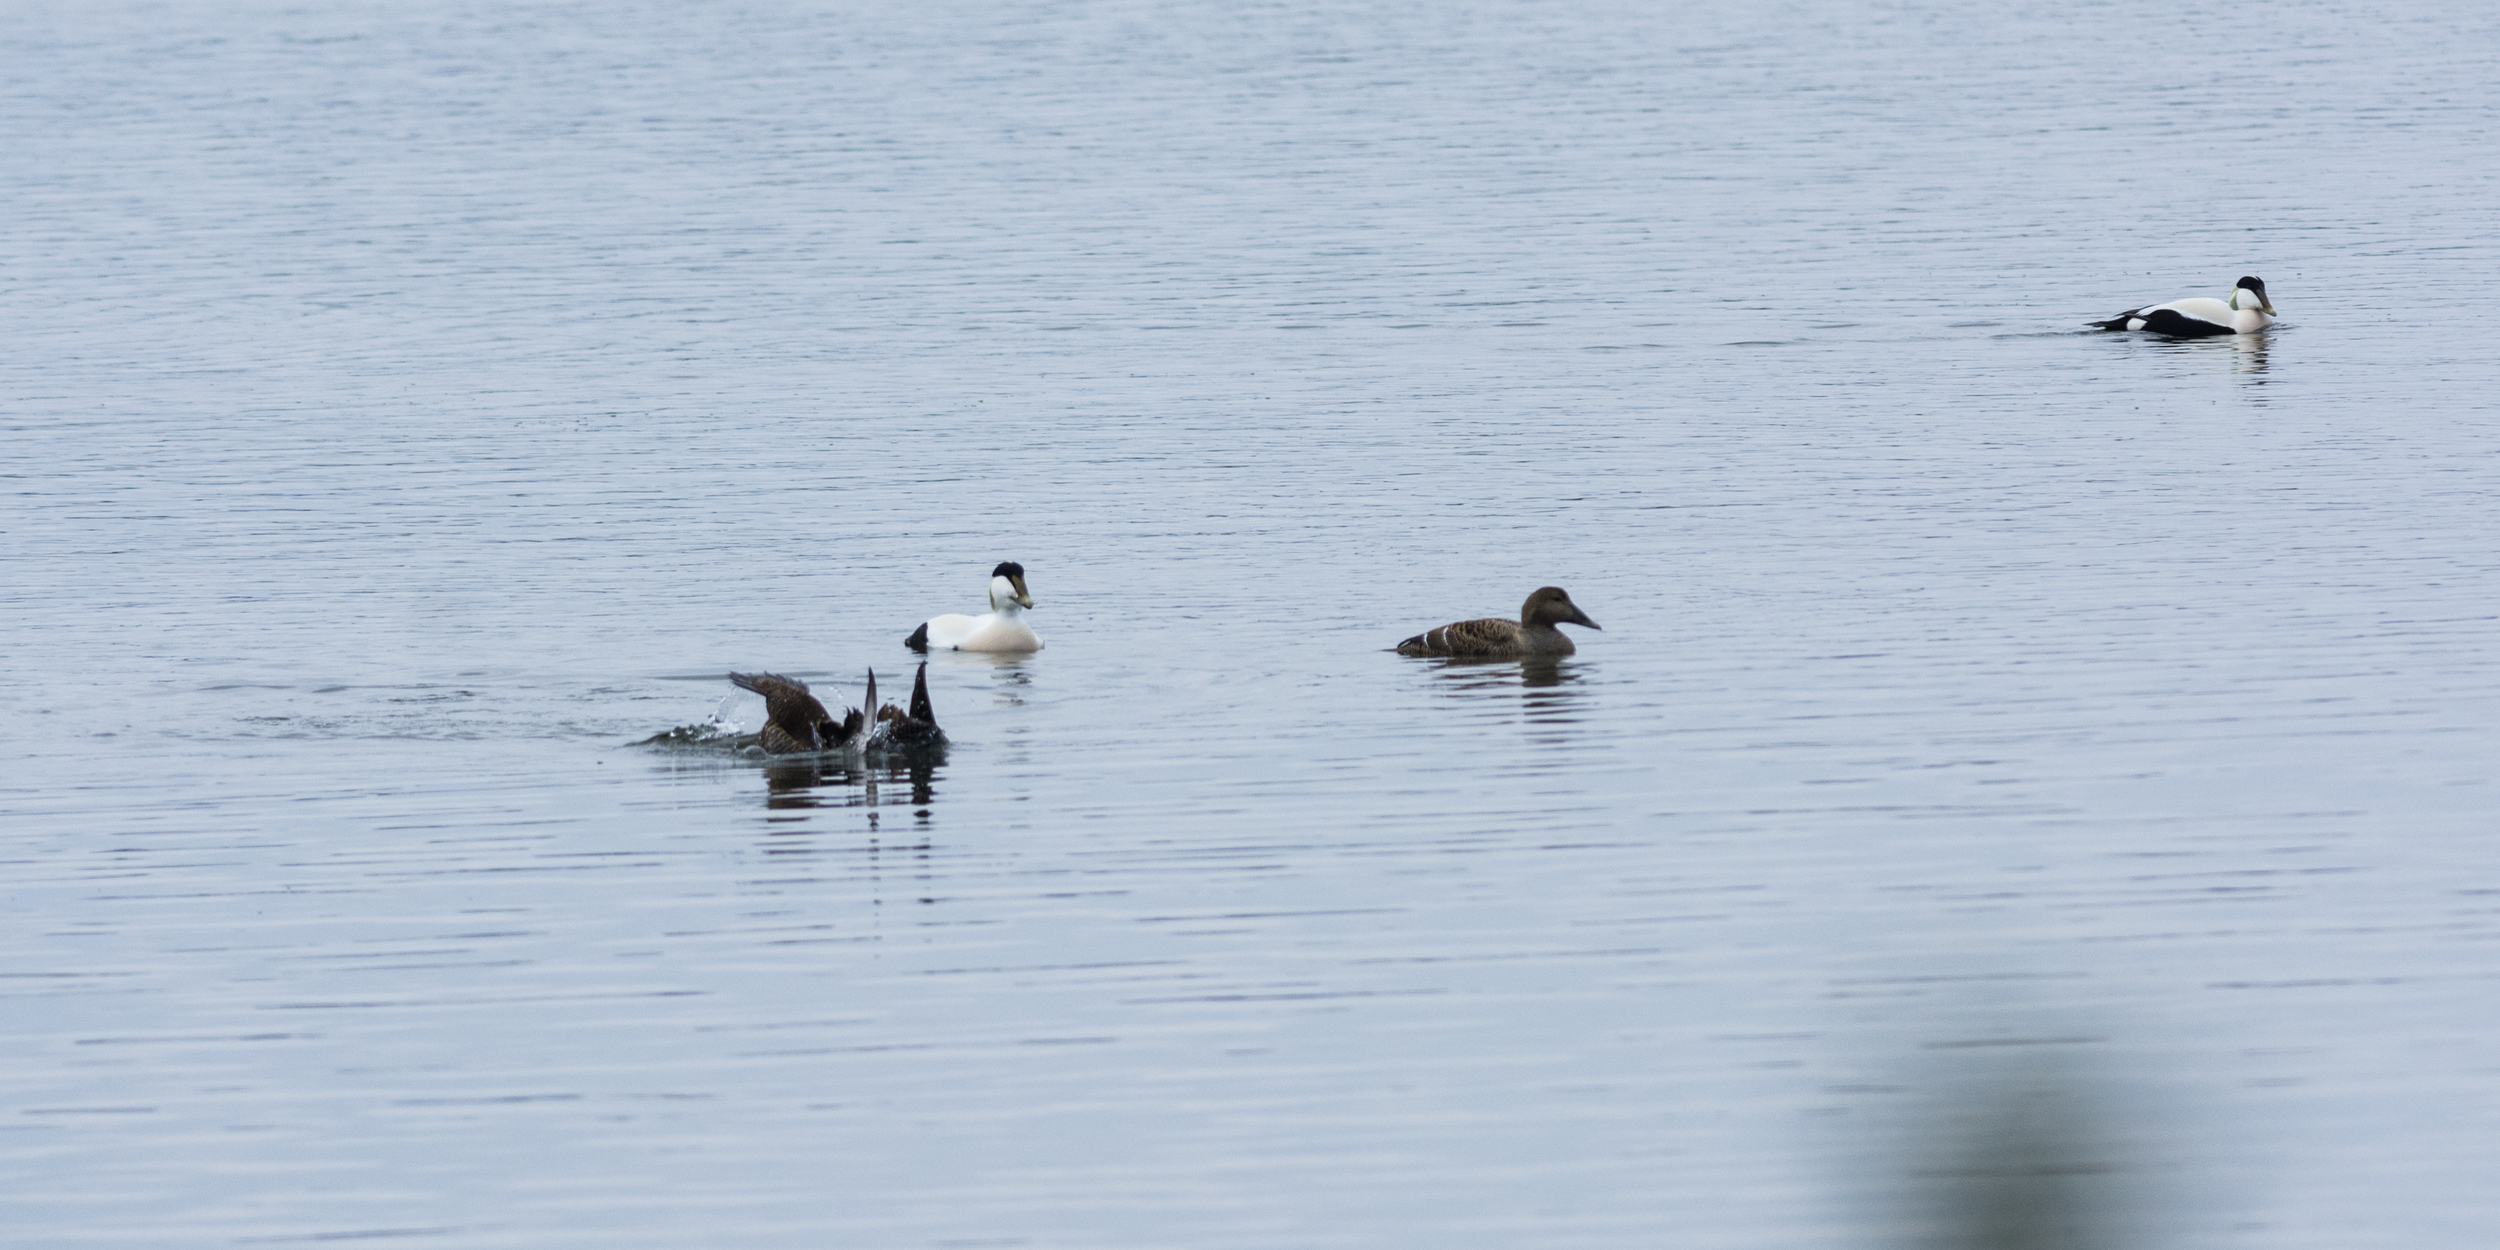
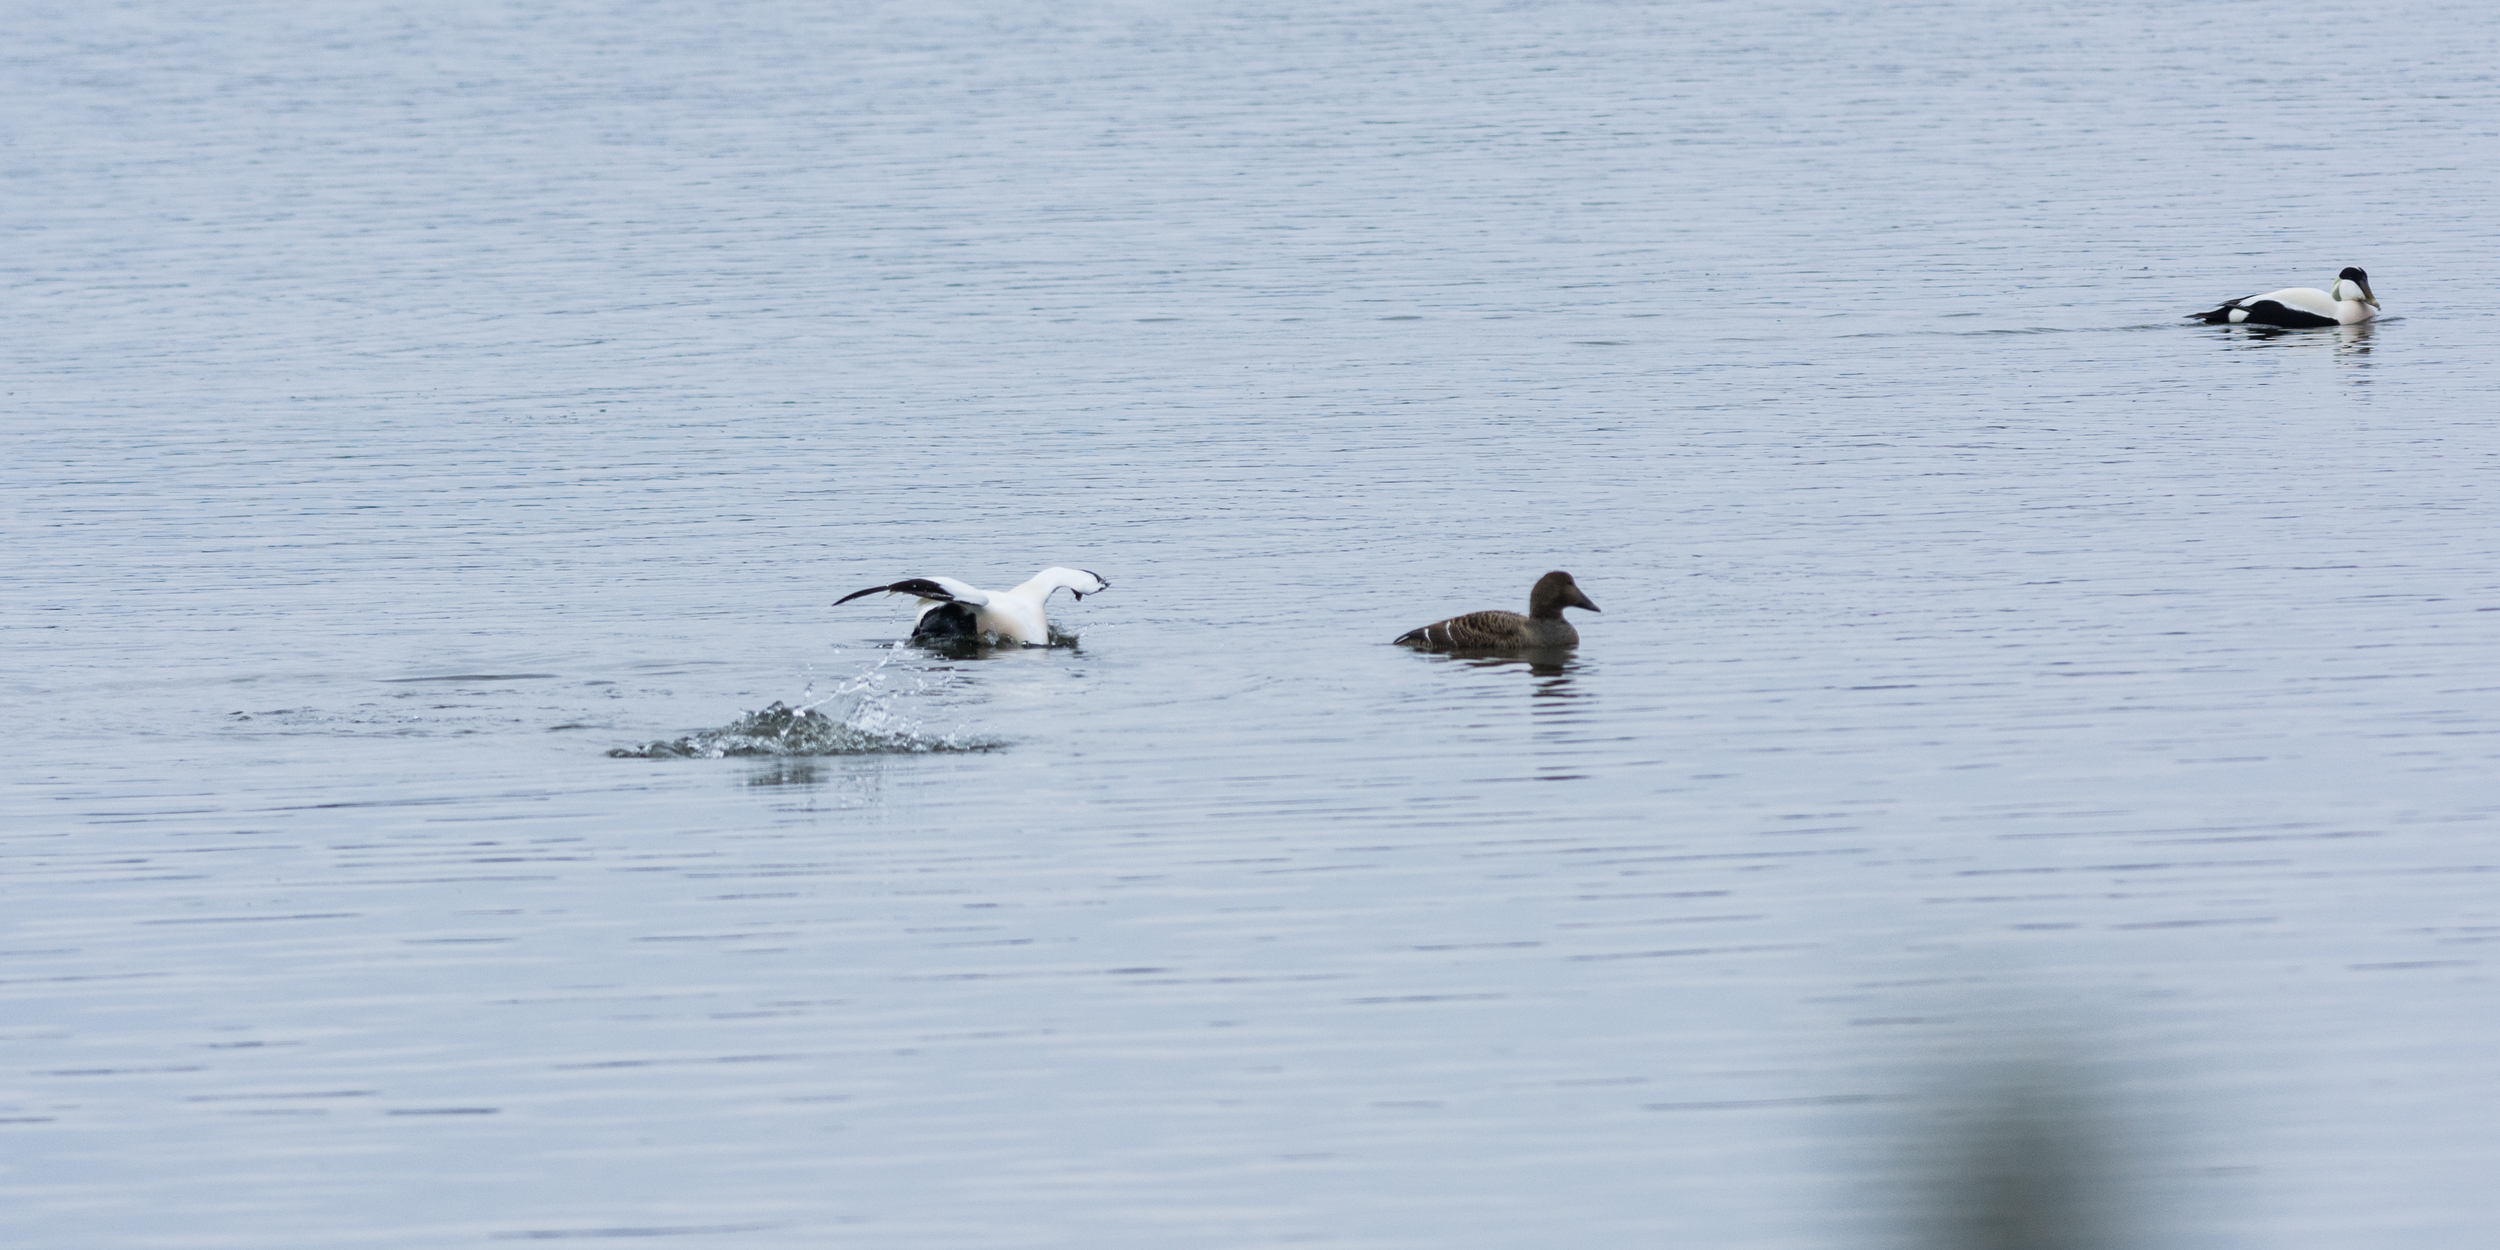
Pretty much the only photo that hasn't been cropped in the whole post.
So, what about focusing? There are a lot of opinions on the topic, but I can tell you what seems to work for me. There are a few key settings I use constantly, and a few that I use on occasion. First of all, I keep my focusing assigned to the back button at all times. Google 'back-button focus' if you want to know more, but basically this lets me use my thumb for focusing and index finger to press the shutter release. This makes it really easy to track a bird that flies past you so that you keep focus all the time, and you can take pictures at any point using another finger.
Slow, easy target. Pre-focus on the swan and wait until it's in the correct spot. Here I used a single AF point.
Again, easy :) Even though the action was fierce, my dad hardly moved, so the AF didn't need to track him.
When using back-button focus, you always have your camera set to continuous focusing. As for which mode, I typically use 9 points for flying birds and one for stationary ones. 9 is easier to hit a moving bird with, and one makes it easy to focus on the eyes (or head, as the focus point often covers all of it). I never use 3d tracking or all 51 focus points I have, since I've found my camera to miss my subject more often with those. I'd love to try Group AF, but my Nikon doesn't have that unfortunately.
The last important thing is to make sure your continuous autofocus locks on to targets and stays on them if you keep the finger pressed. On my Nikon, I have a scale of 0-5 for the timeout before focusing again, I have it set to 4. This means that even if the camera notices something thats close to the focus point but isn't in focus, such as a branch between you and the subject, it waits a while for the object to pass before it tries to re-focus. It does mean that you might have to tell the camera to re-focus if it chooses the wrong subject, but that typically only needs lifting your thumb and re-pressing it immediately.
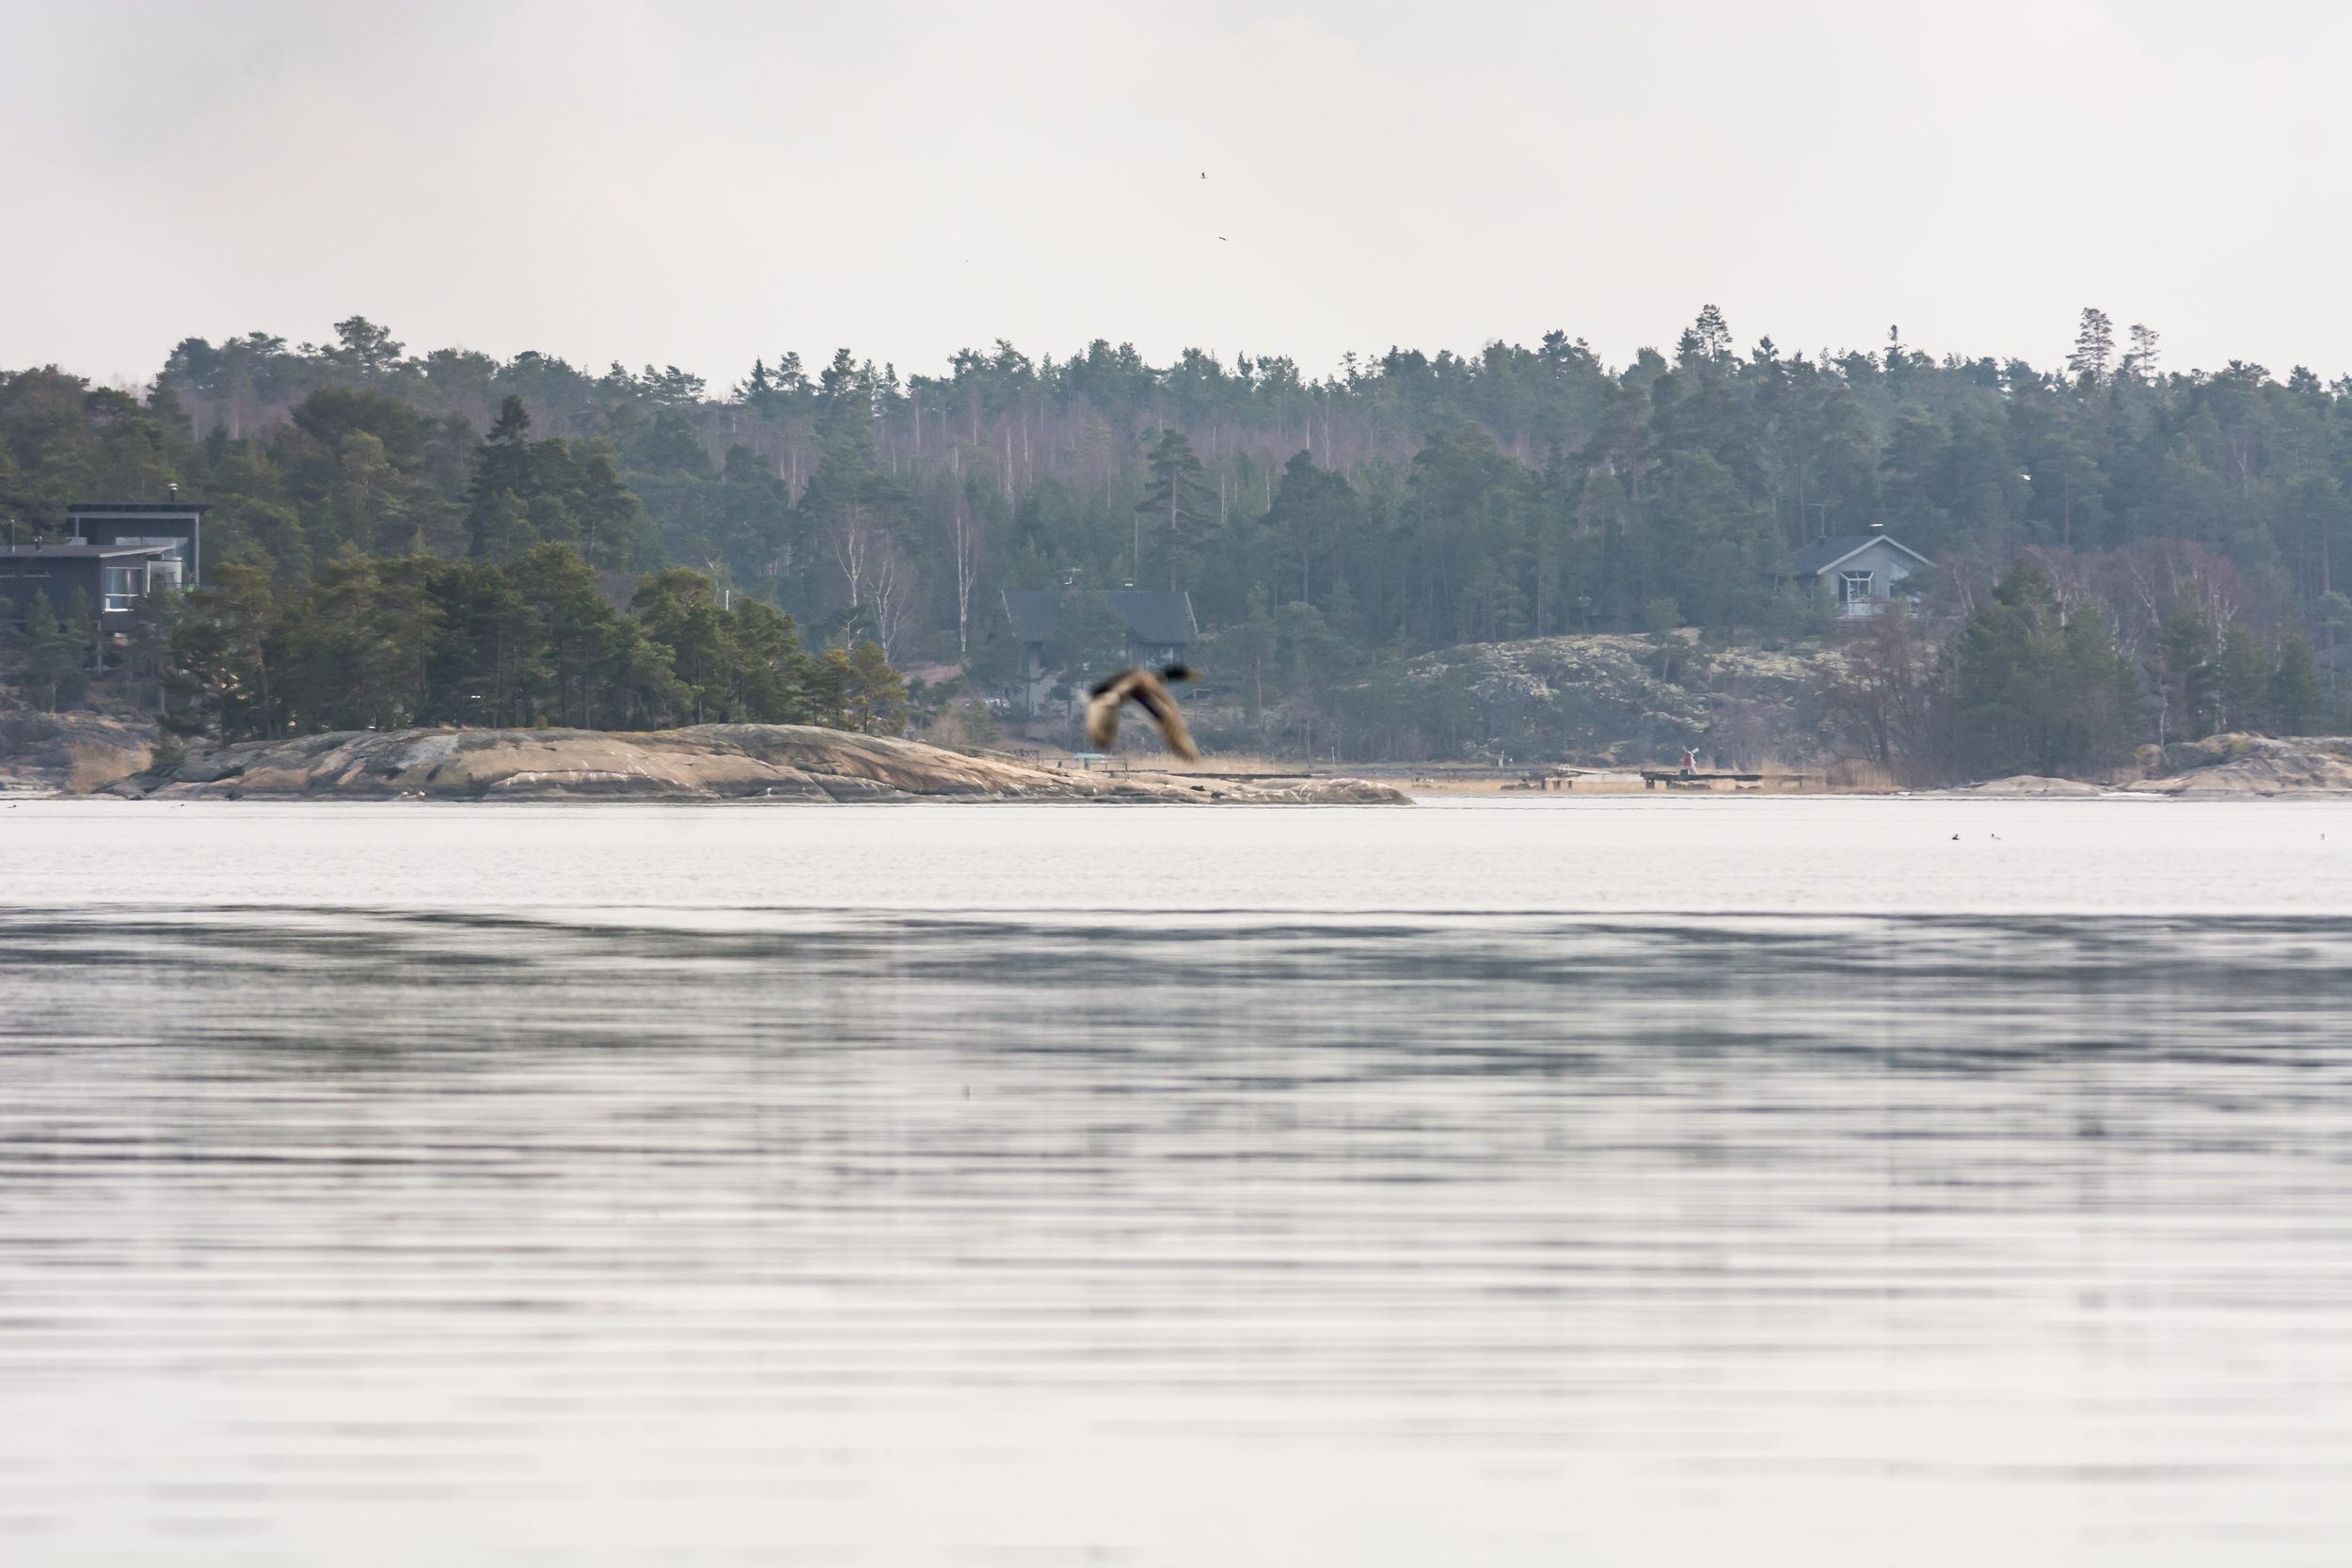
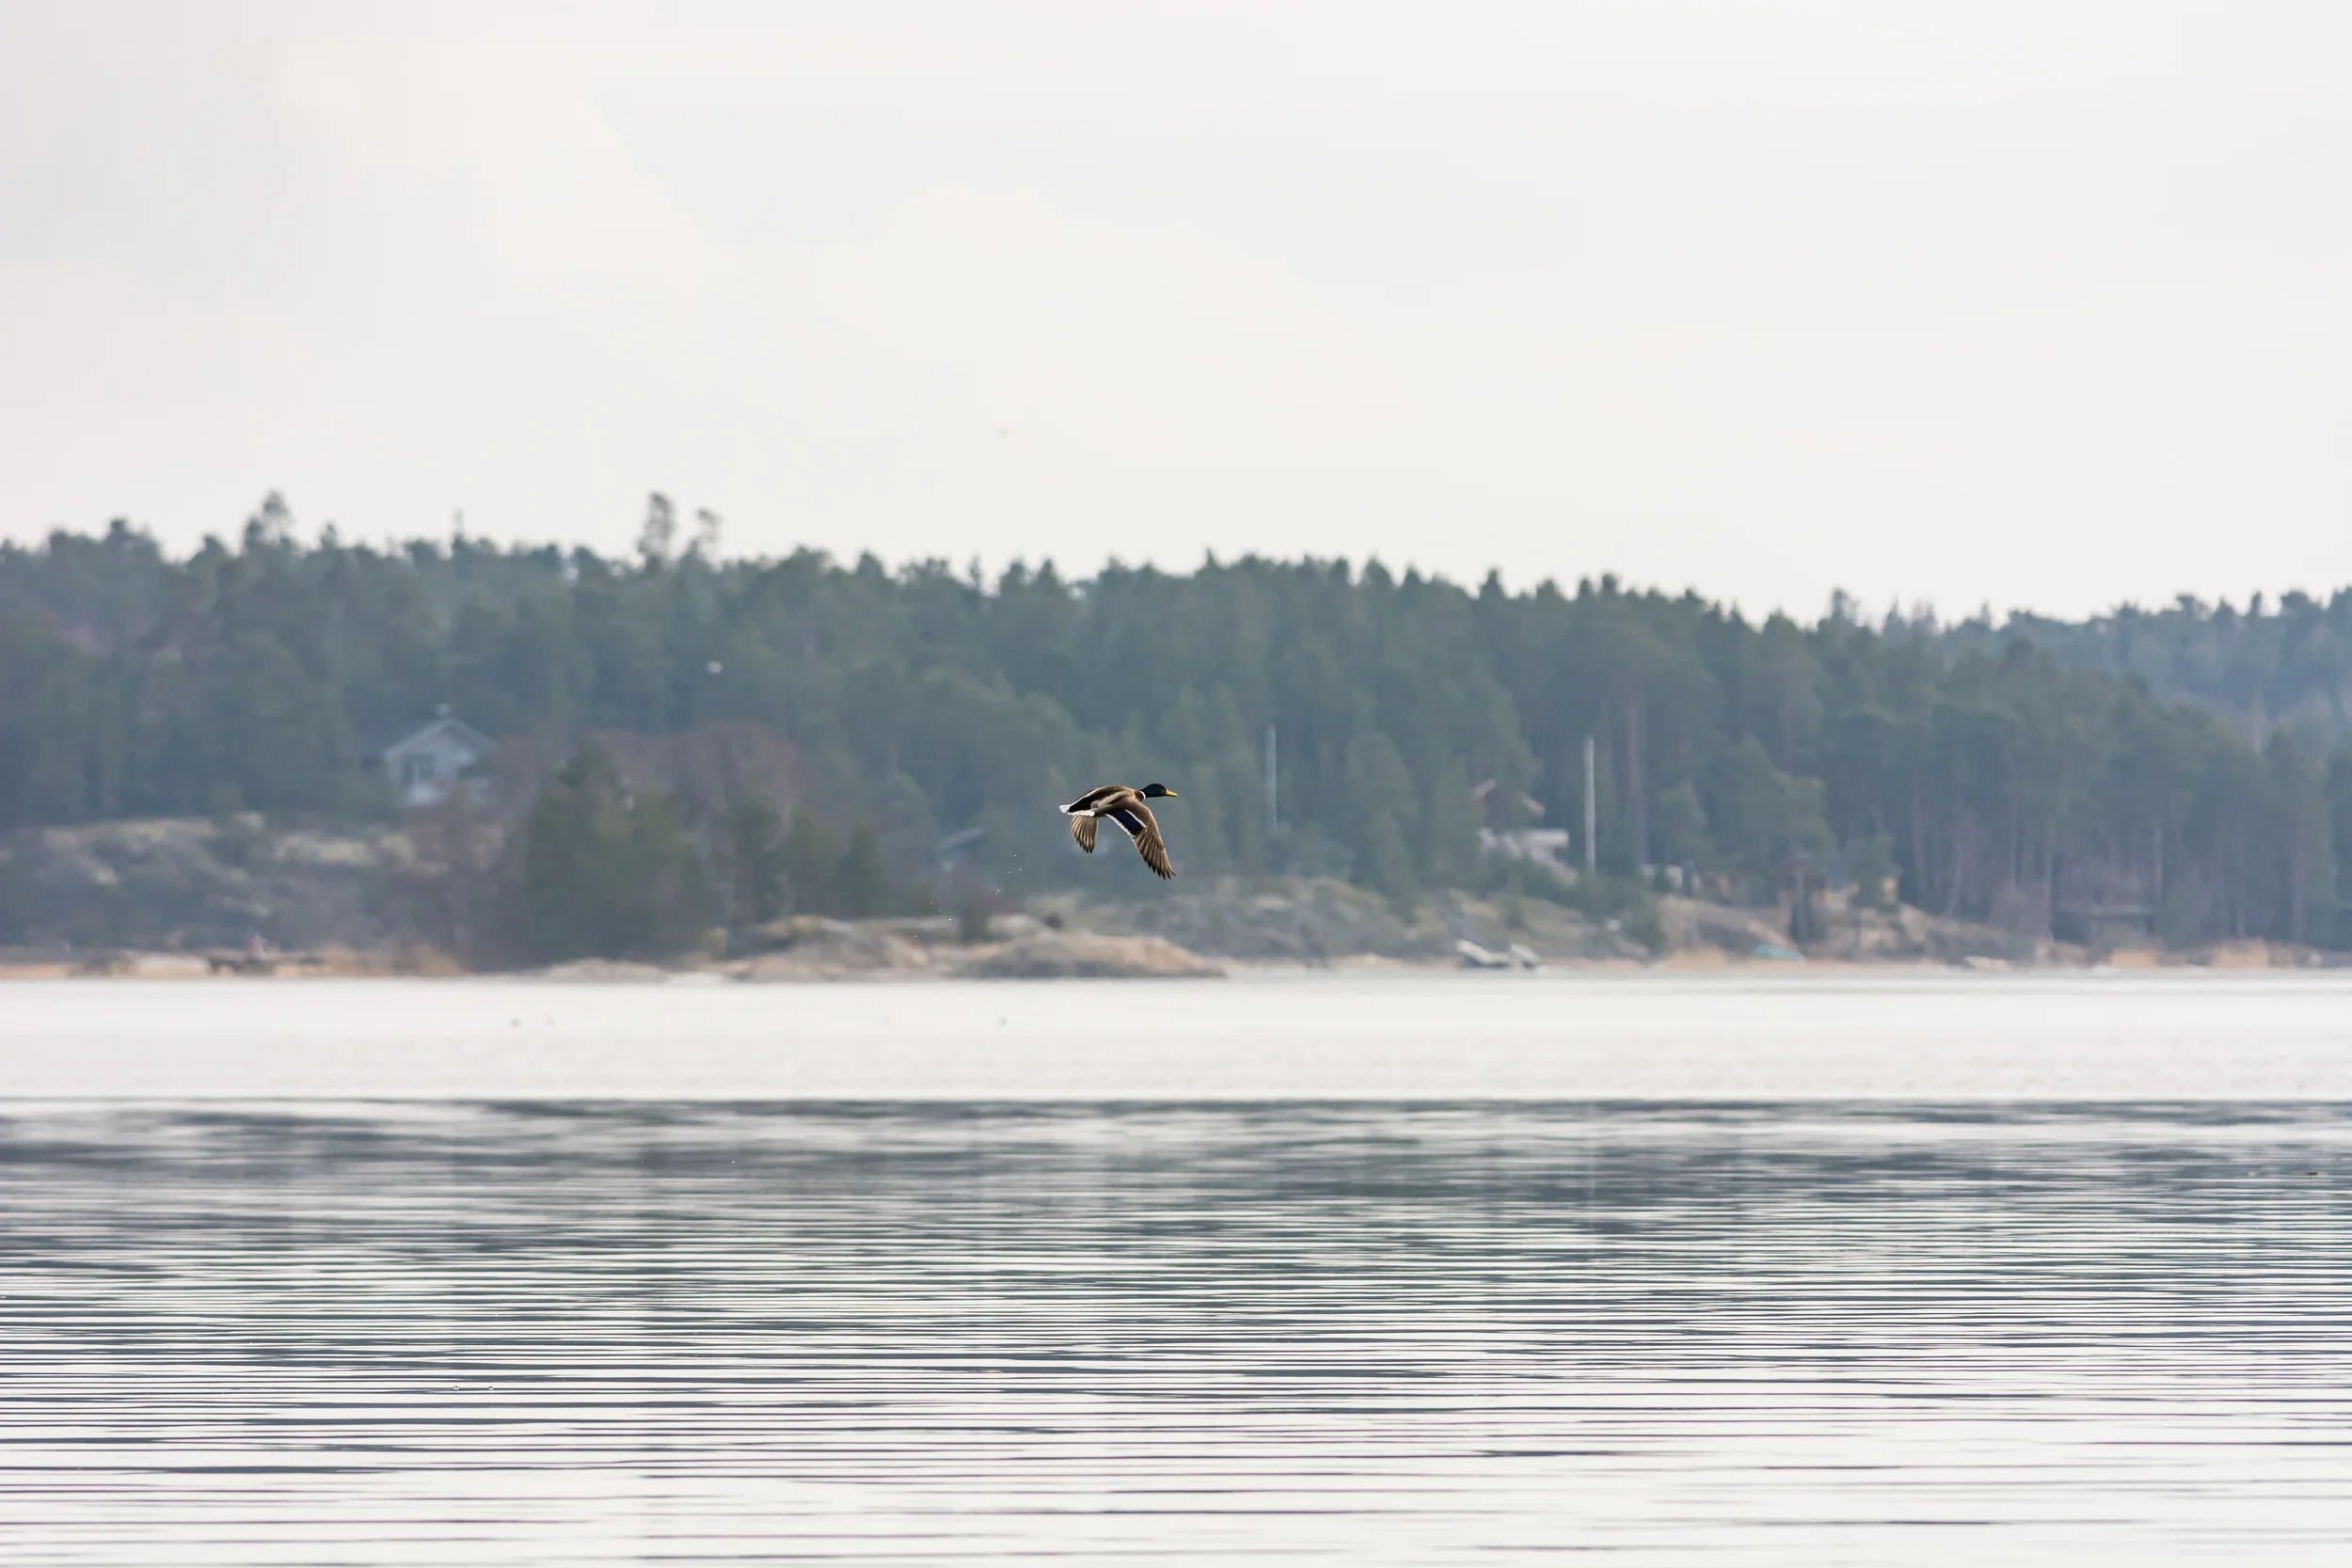
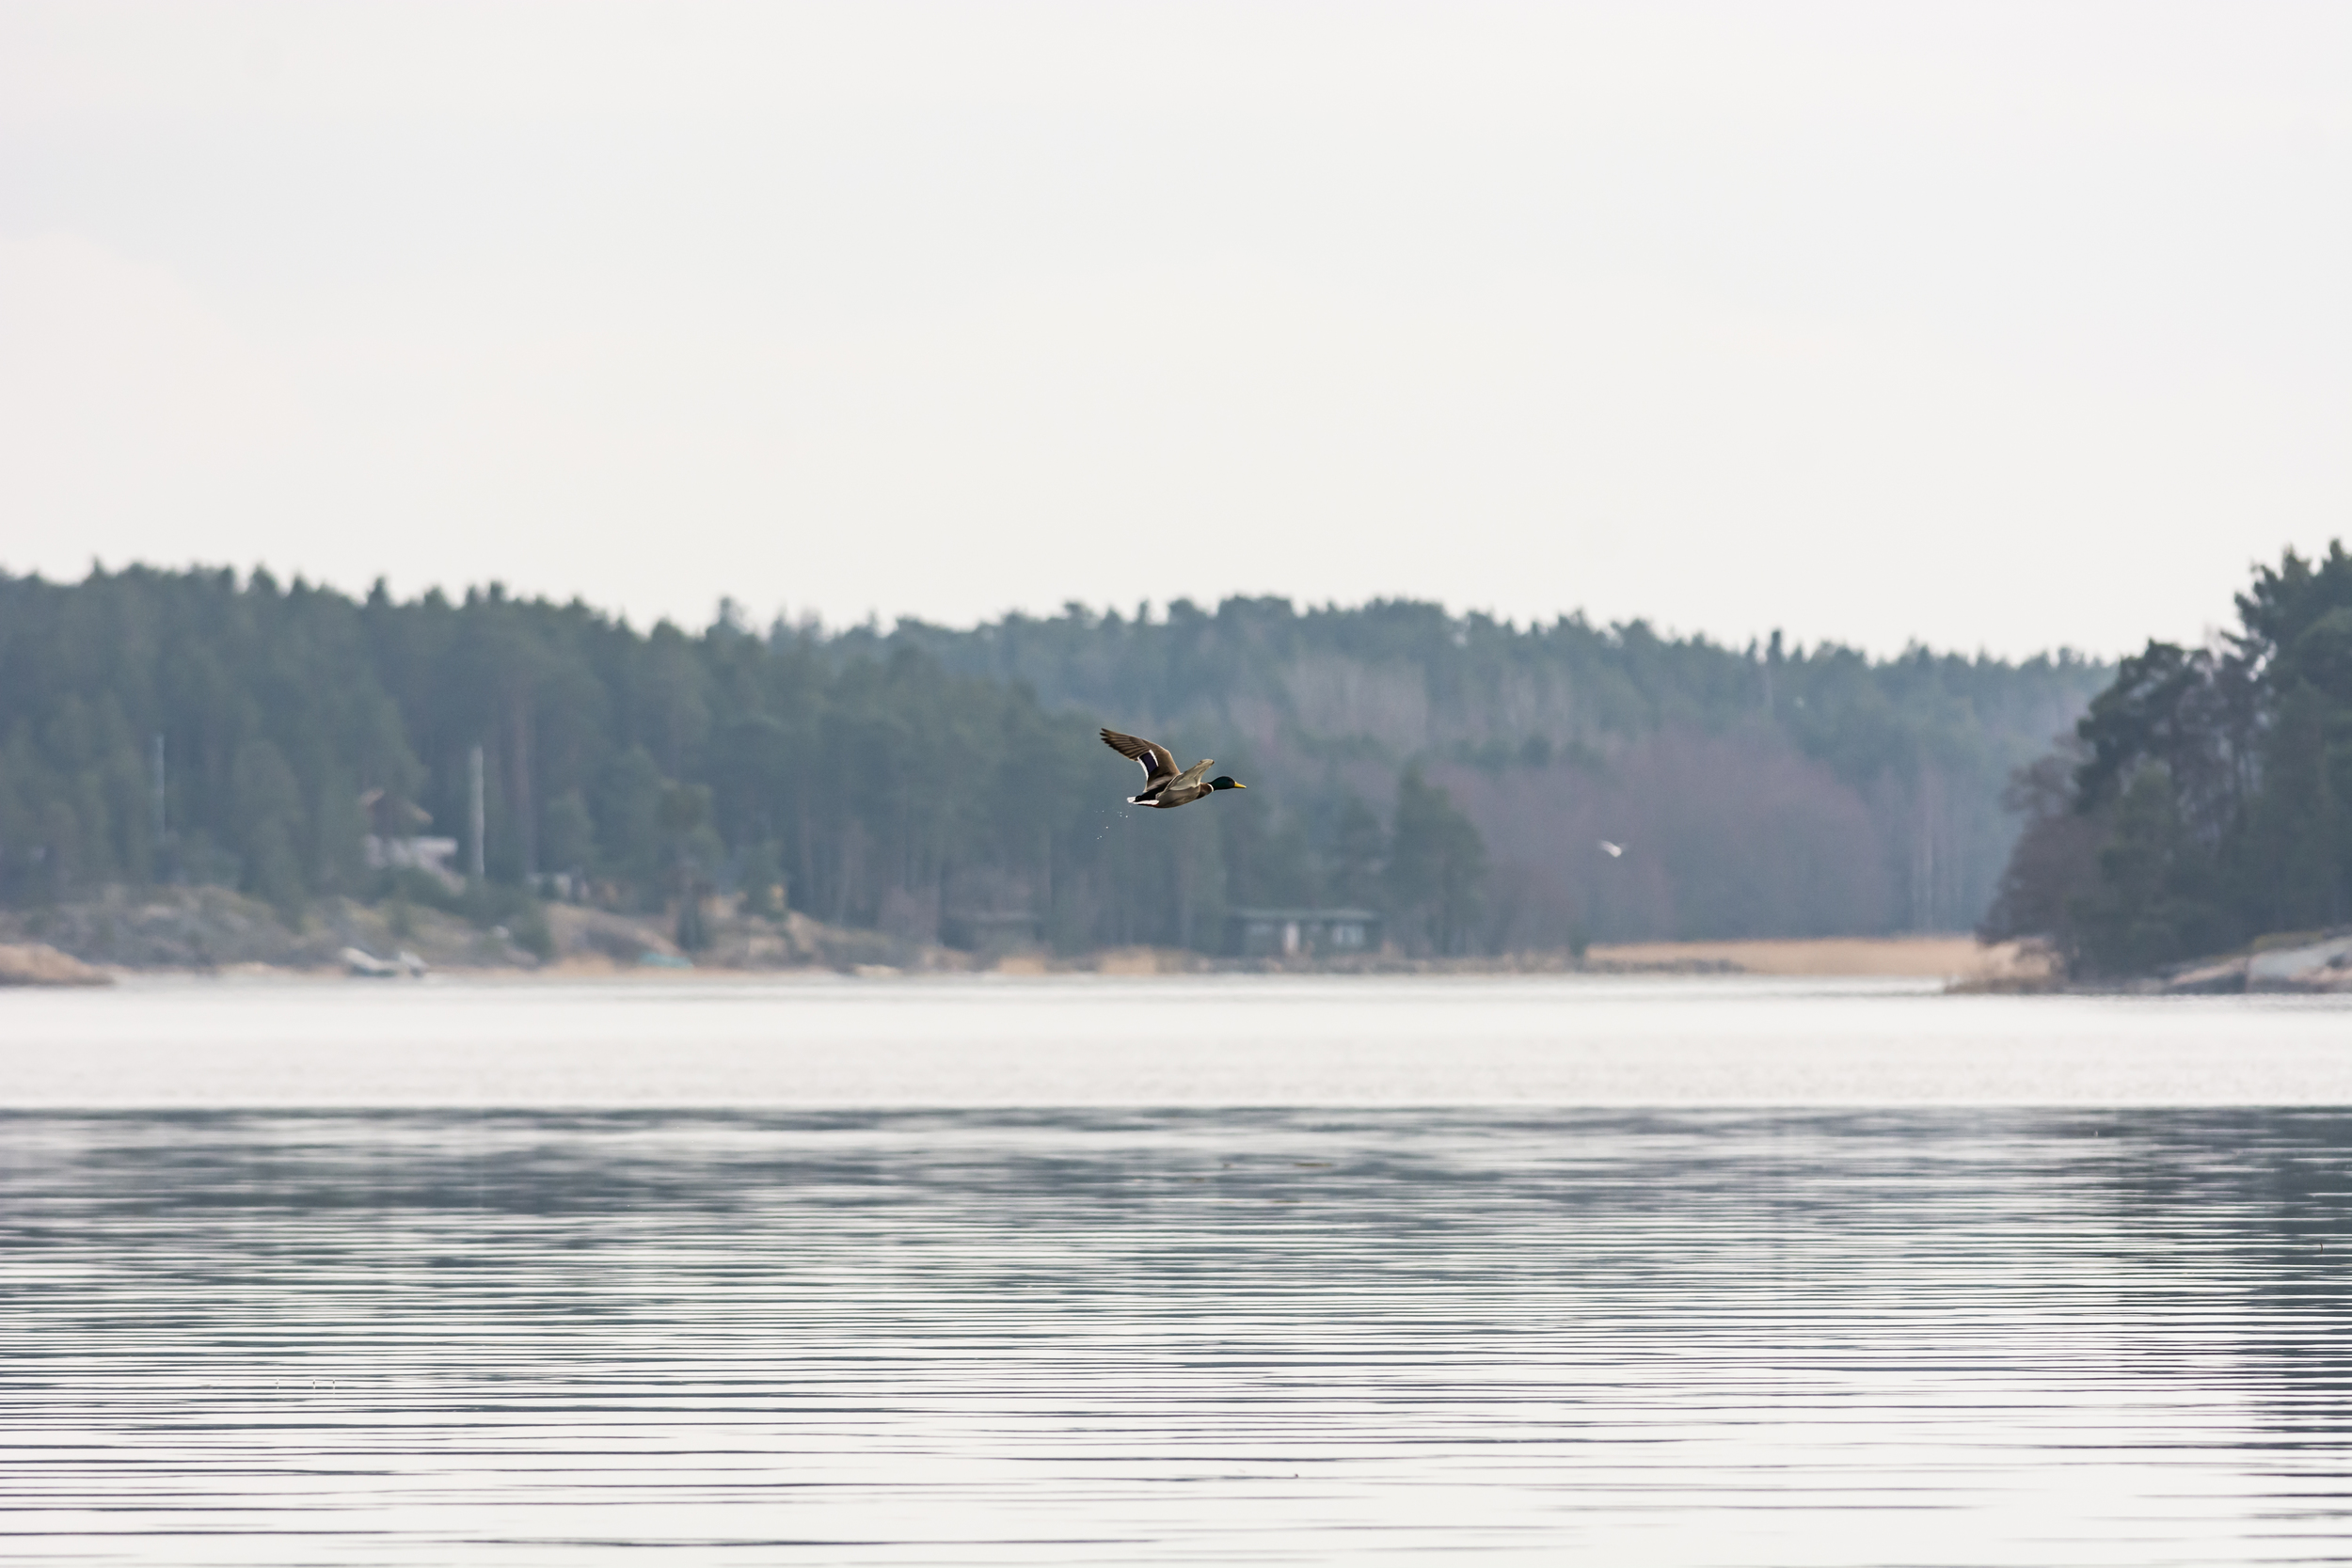
Focus is one of those things that is better and faster the more money you throw at it; more expensive cameras have better autofocus systems, and the expensive telephoto primes have better focusing motors to better follow the cameras instructions. And at least in this case, proper DSLRs are heads and shoulders above any pocket or small mirrorless cameras, no matter the cost. It's simply the physics involved.
But your technique is much more important if you want to get sharp images. The way you hold your lens to minimize shake, for instance. Or your shutter speed. Or how you track a bird for more than 90 degrees, rotating your body smoothly to keep the bird in the frame. These are things you need to practice. Just don't do as I did, and start with swallows. Or any small bird. Use seagulls instead, they are perfect for the purpose since they are big and (mostly) fly slow and steady. The more you practice, the smaller birds you can keep in the frame for longer.
I tracked these swans for about 160 degrees; this shot is about a third in, just when it is getting closest to me. I cropper the photo to get rid of the other swan flying just after this one, since it was only half visible.
The exact same bird(s), from near to the end of the sequence.
As I mentioned, I use a single AF point for static subjects. This gives me much better control over where the camera actually focuses. Just before sunset, for instance, my dad called me that he saw some cranes on a field a kilometer away. I drove there and spotted them easily.
As you can see, though, the cranes were in shadow. Also, they were on the opposite side of a field. The light was dropping fast, and I still had things to do on the beach (more on that soon), so I just decided to walk towards the birds. Easy solution is always the best, right? ;)
Unfortunately, the birds saw me immediately, waited a few seconds, and then took off (pic of that is earlier in this post). If I'd had the time, I'd try to find a more tricky route and try to sneak up on them. Alas, I drove back to the beach. One of the reasons I got out to the archipelago was that I hadn't taken an image for our monthly photo competition at work. The theme was 'sun', and the weather had been really crappy, as befits Finnish spring. This was the last day of March too, so time was pretty much up. Lucky for me, the sun did show up in the evening. You can see some of the last rays in the earlier crane picture.
So, what to shoot? Landscape would be obvious, but when I was looking for a composition, I noticed the swan from earlier sitting out in the middle of the small bay outside our cottage, and the light on it was absolutely beautiful.
I love the colors in play here; the warm rays of the setting sun, the white of the bird, and the blue skies illuminating the swan and the ice sheet in the bottom of the frame. The out of focus eider is a nice bonus :)
But, since I can't just leave a sunset alone, I rushed to another spot just before the sun actually set (since Finland is a Nordic country, sunset usually takes a good while). The last remnants of cloud were blowing southwards, and the sunset lined up nicely with the beach. I waited for the last possible second, and took the last image of the day.
Not a bad day. Not bad at all.


